When visiting Zion National Park, you have a multitude of trails to choose from. However, you don’t want to skip the Emerald Pools Trail.
This moderate 3-mile loop (or just over 2 miles if you don’t go to the Upper Pools) is filled with incredible views, waterfalls, and more.
It was our favorite hike at Zion and one of the best hikes we did during our long weekend in southwestern Utah, so that’s saying something!
If you want to check out the beauty of the Emerald Pools Trail, the guide below will have you prepared and ready to go!
In this day and age, I feel the need to mention that I don’t use AI to write my posts!
I’ve hiked these trails, taken these photos, and collected this information personally (sometimes with the help of my friends, who are also real, live people). I appreciate you being here and utilizing my work for your future endeavors.
Also: Some of the links below are affiliate links, meaning that, at no additional cost to you, I may receive a commission if you click through and make a purchase.
Thank you for your support!
One of the Best Hikes in Zion National Park
This hike has it all! Views Zion Canyon, including Lady Mountain, the Great White Throne, and Red Arch Mountain. Multiple waterfalls, the “emerald” pools themselves, and also interesting plants and animals along the way. After completing the trail, I can understand why it’s a favorite among Zion visitors.
There are several ways you can incorporate the Emerald Pools trails into your hikes at Zion. I’ve seen write-ups that include the Kayenta and Grotto Trails or treat it as an out-and-back to the Lower Pool.
However, we chose to do this as a loop, using both the Lower Emerald Pools and the Middle Emerald Pools Trail, including the Upper Emerald Pools Trail, for a total of about 3 miles.
It’s conveniently located directly across from Zion Lodge, where you’ll find bathrooms, water bottle filling stations, a cafe, and a gift shop.
Fun To Know: The Emerald Pools get their name from the aquatic green algae that lives in the ponds. It gives the water a green tint.
Prepare For Your Hike Along Emerald Pools Trail
Park Admission
There is an entrance fee for Zion National Park. It varies depending on how many days you are visiting the park, your age, and your military status. Please refer to the Zion National Park fees page to determine your cost.
Parking
When the shuttle bus is running (March through October), you must park at the Zion Canyon Visitor Center. Parking fills up quickly, so arriving first thing in the morning (before 8 am) or later in the afternoon (after 3 pm) is the best way to secure a spot.
Visitor Tip: DO NOT park in non-designated parking areas! We saw several cars parked in “No Parking” zones that were tagged with TOW stickers. They don’t play around at Zion.
Getting to the Trail
The entrance to the Emerald Pools Trail is across the street from Zion Canyon Lodge.
When the shuttles are running, you’ll want to get off at Shuttle Stop 5.
Amenities
There are restrooms and water bottle filling stations located next to Shuttle Stop 5. The lodge also has restrooms and a gift shop inside.
Cellular Service
There is no cell service at the Zion Lodge and very little service along the Emerald Pools Trail.
Pets
Dogs are not allowed on the Emerald Pools Trail
Higher Elevation
Zion Canyon is about 4300 feet above sea level. Which might not sound like a lot if you live in a mountainous region. However, for those of us who normally live at less than 1000 feet elevation, the change can make a difference! You might feel more easily out of breath. Make sure to stay well hydrated and take adequate rest breaks on the steeper sections of the trail.
Hiking the Emerald Pools Trail Loop
| Trail Location: | Across the street from Zion National Park Lodge |
| Trail Length: | The full loop, including the Upper Pools Trail, is 3 miles long. You can shorten to 2.3 miles by not going to the Upper Pools. |
| Trail Difficulty: | Moderate |
| Trail Type: | Loop |
| Elevation Gain: | 540 feet |
| Dog Friendly: | No |
Starting the Trail
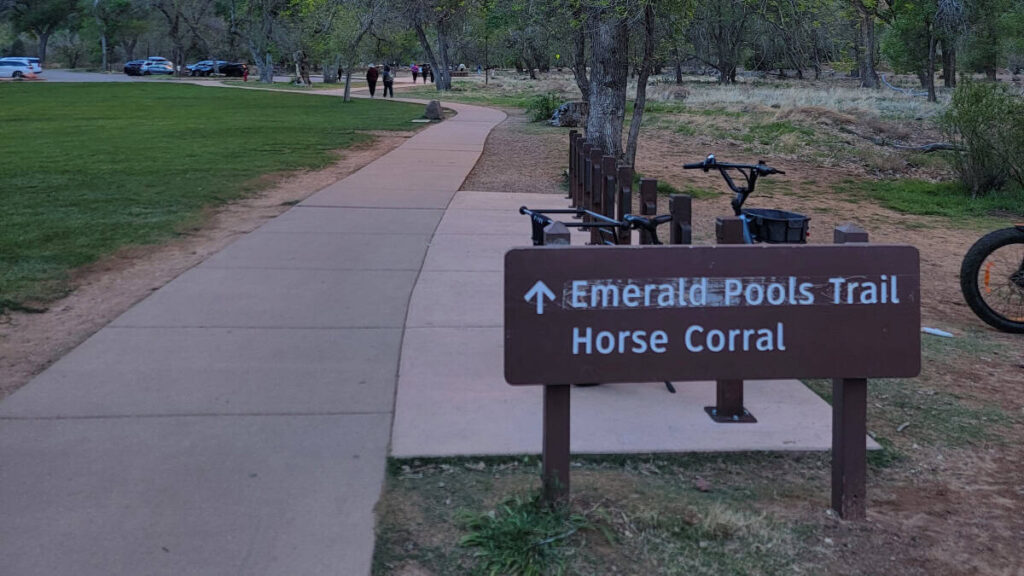
The trailhead to Emerald Pools Trail is right across the street from the Zion National Park Lodge. There are several signs directing you towards the trail, so you can’t miss it.
Choose Your Direction
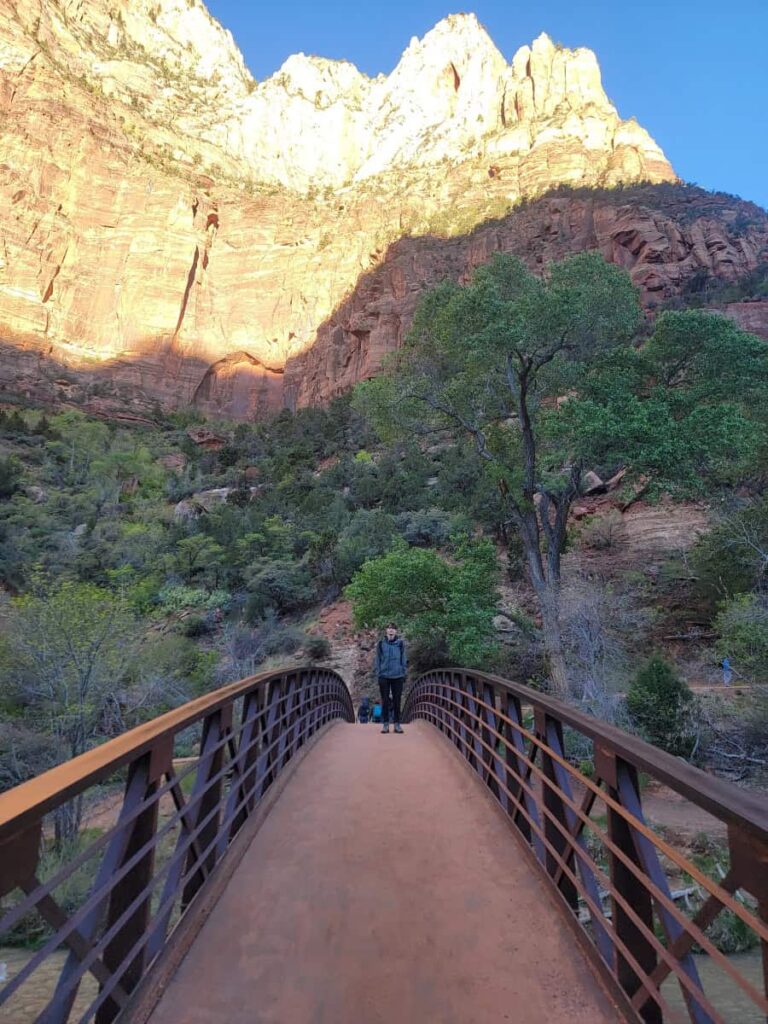
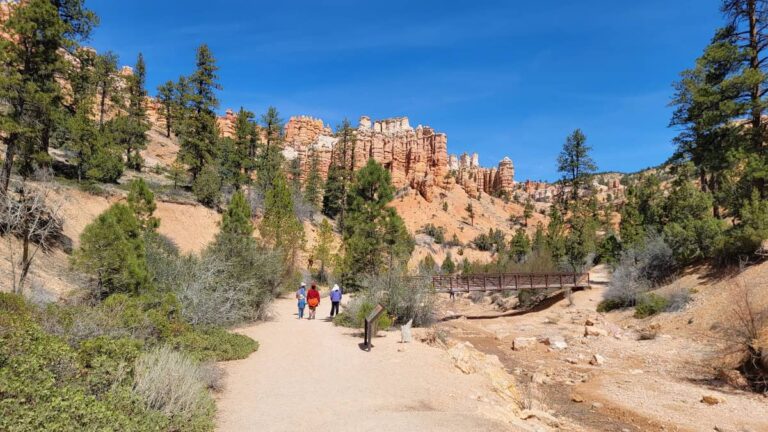
Follow the dirt/sand path to the foot bridge until you reach a sign for the Emerald Pools. There, you’ll have to decide which direction you want to go.
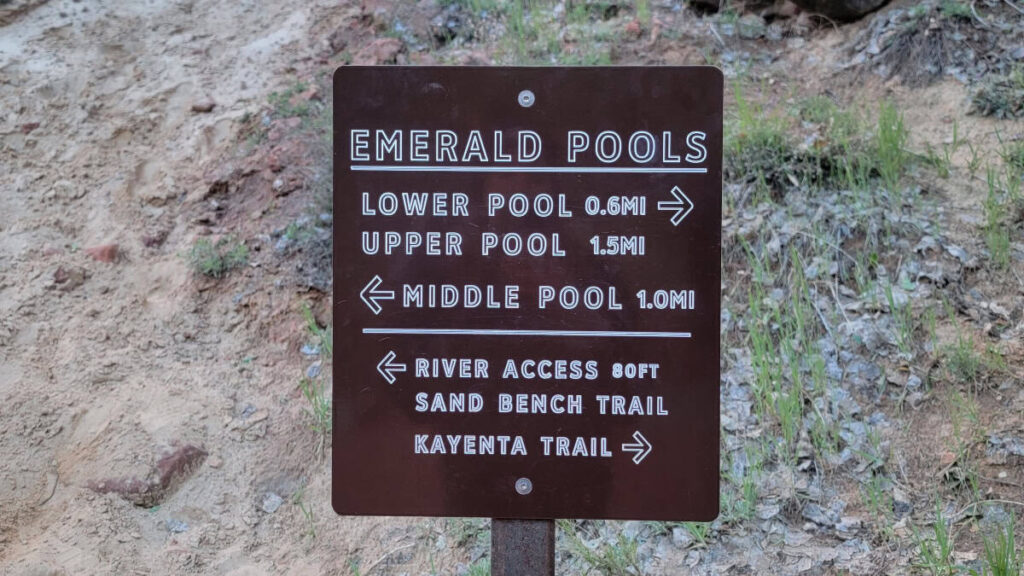
We chose to do the loop counterclockwise, heading to the Lower Pools first. After completing the loop, I’m glad we chose that direction. Hitting the Lower Pools first felt like the right progression. And seeing the source of the waterfalls we initially walked under was fun towards the end of our hike.
Walking to the Lower Pools
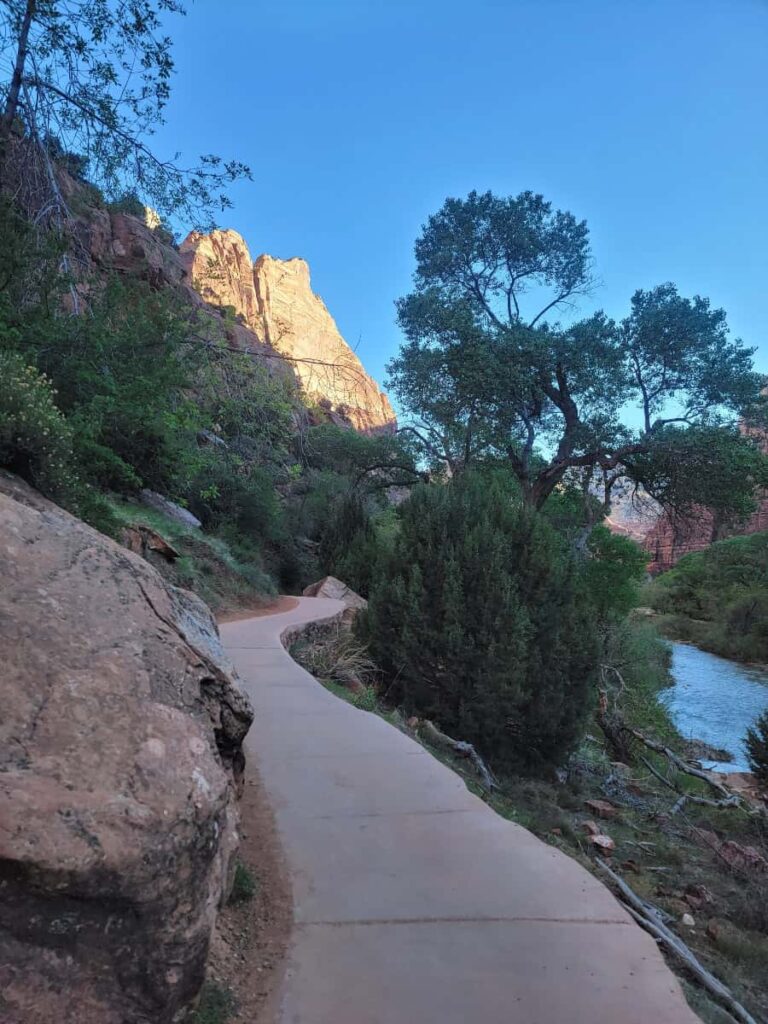
The path to the Lower Pools is paved, but it’s not flat. I’ve read a few different places that the Lower Pools Trail is “accessible” but it is not. There are some steep sections of the trail that a wheelchair user could not get up.
That being said, it’s a relatively easy section of the trail, so if you or someone in your party isn’t a big hiker but they want to see the waterfalls and some of the pools, it’s definitely doable.
At the Lower Pools

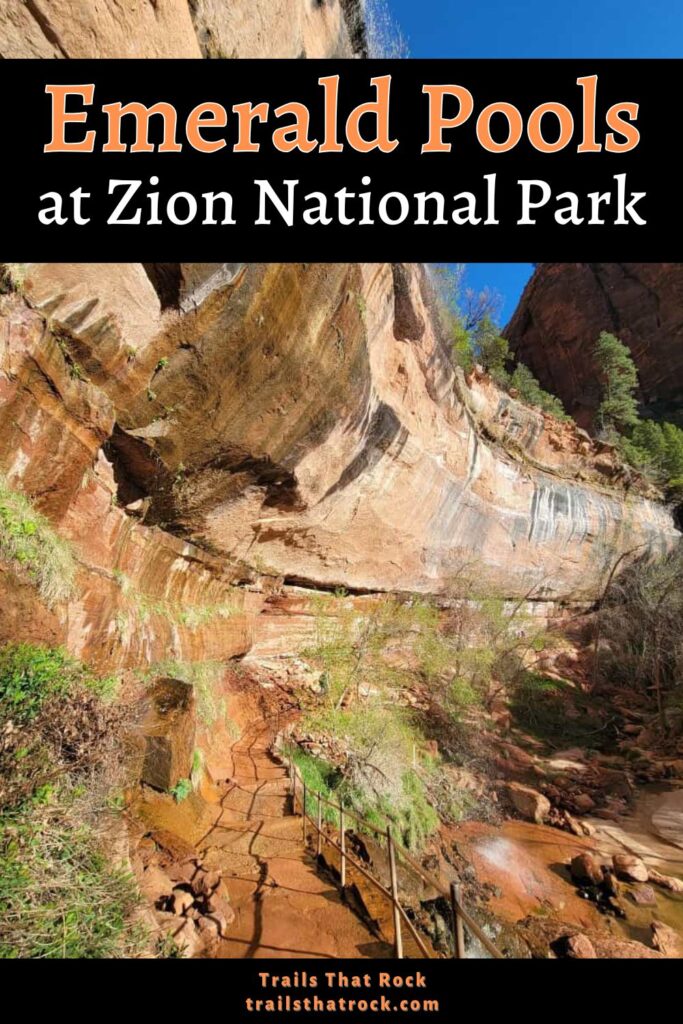
During our visit in early spring, there were two waterfalls feeding the Lower Pools. The waterfalls weren’t too heavy, but they were still beautiful to see!
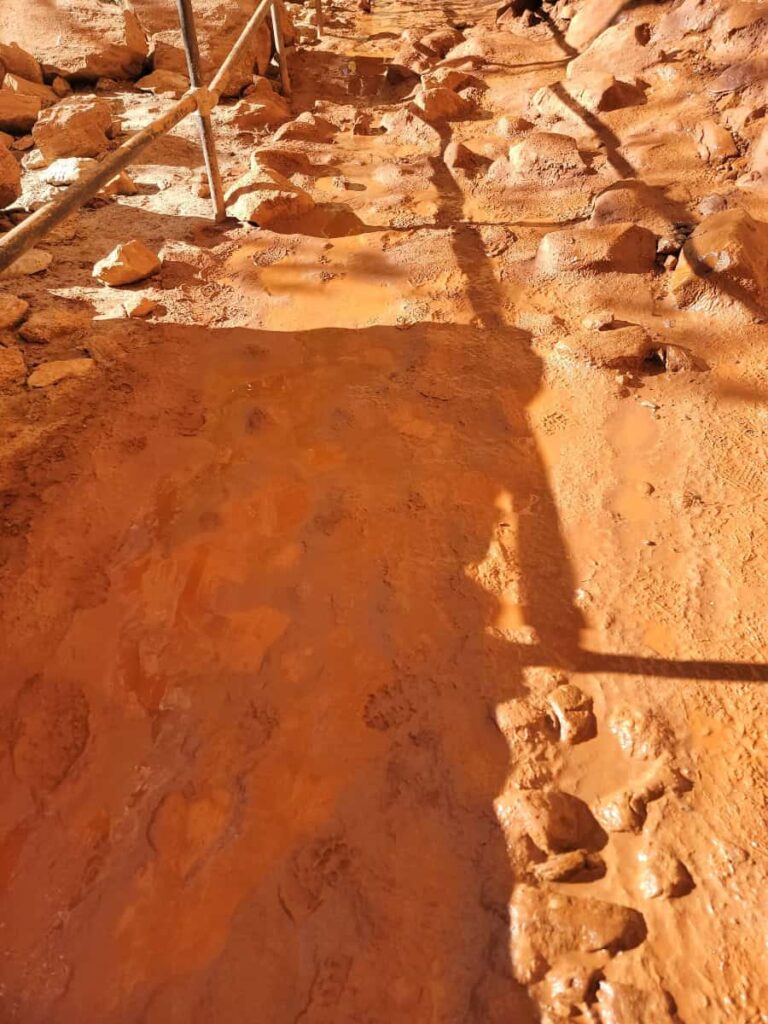
The paved path goes behind the falls. Because of the sandy dirt and water, the path was muddy, so don’t wear your good shoes on this trail!
Continuing to the Middle and Upper Pools
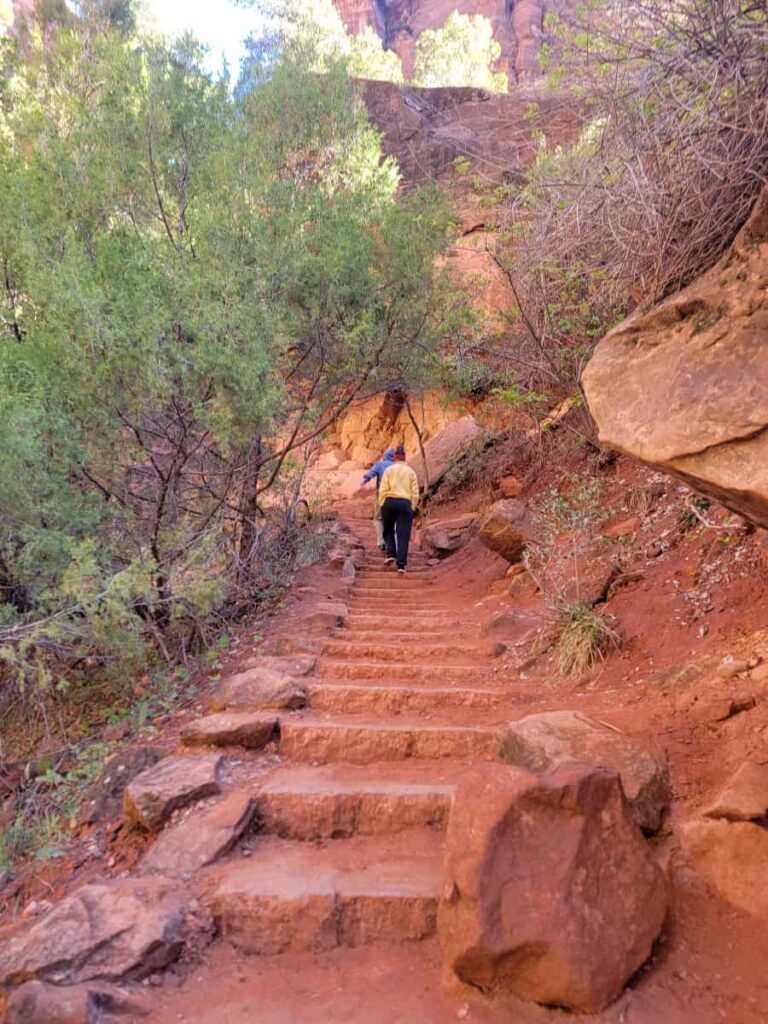
After the Lower Pools, the trail changes from paved to a mix of dirt and rocks. And it gets steep really fast! There are grades up to 25% along this part of the trail, typically using stone steps to ascend those sections.

In about 2/10-mile, you’ll encounter the first of the Middle Pools. This one is small, but still pretty to see.
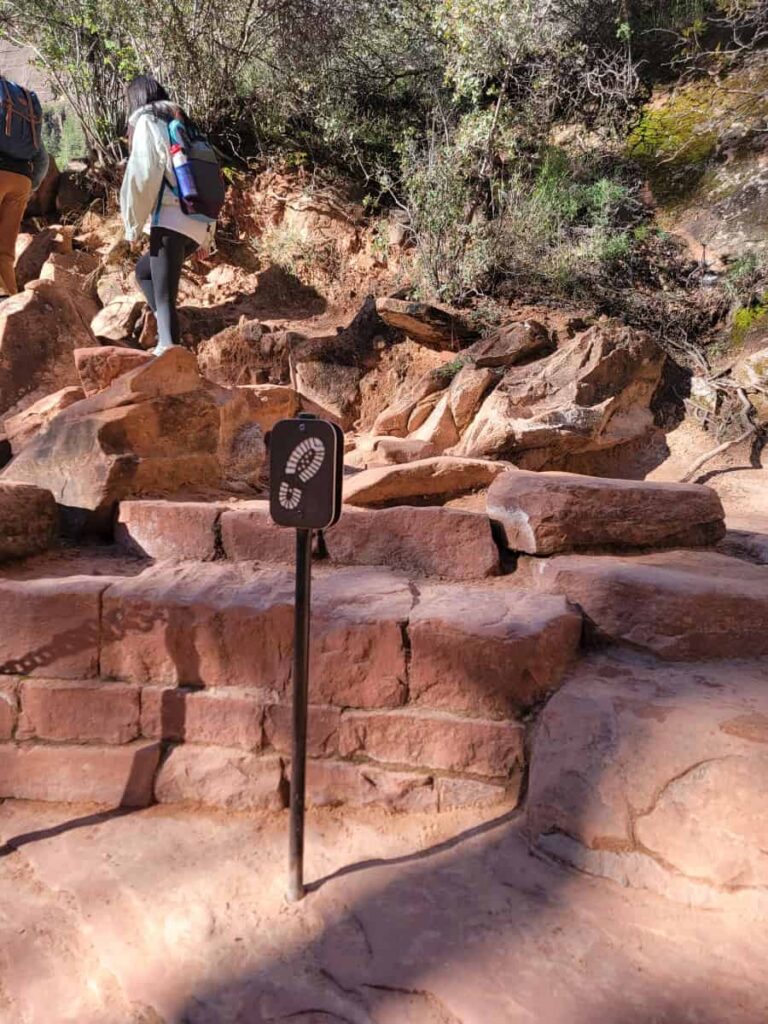
Follow the stone steps to continue to the Upper Pool and more of the Middle Pools. There is a sign with a hiker’s footprint indicating where you should go.
Fork in the Road
After about 1/10 mile, you’ll come across an intersection with a bench looking out over the canyon. On the right is the trail that leads to the Upper Pool. If you don’t want to go to the Upper Pool, you can continue following the trail to the next set of Middle Pools.
However, for those who want to make the climb, the Upper Pools are worth it!
Continue to the Upper Pool
At the intersection with the bench, make a right on the trail to the Upper Pool. This trail is very steep in sections (up to 40% grades). We stopped a few times to catch our breath and take in the views.
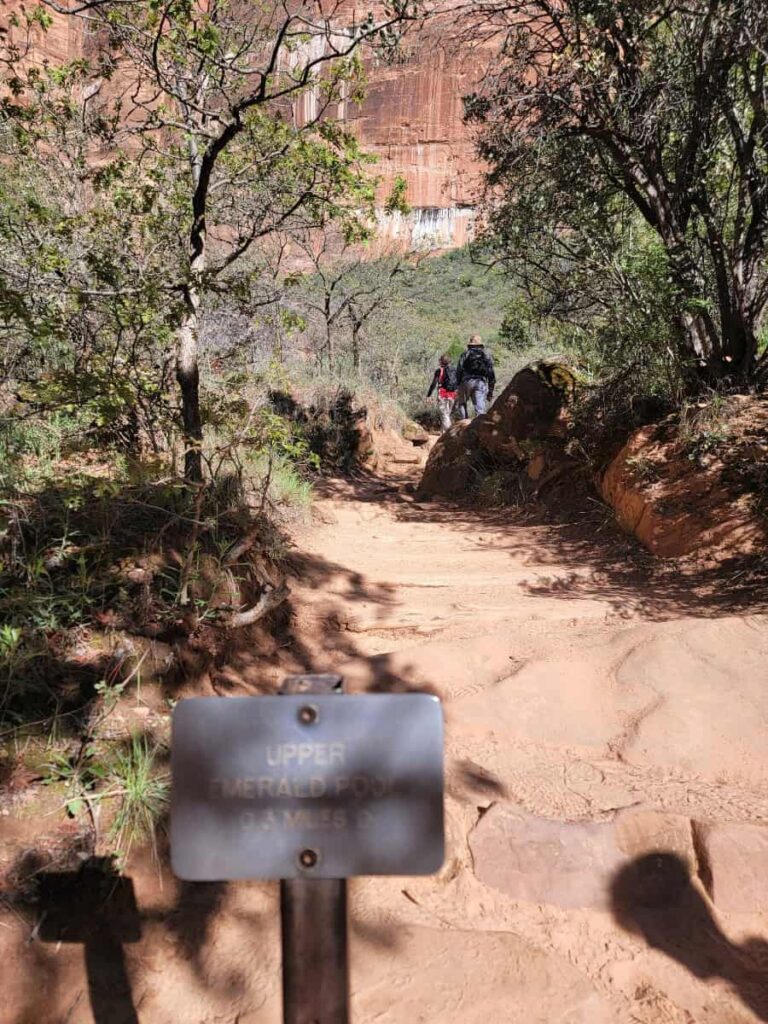
The part of the trail is out-and-back, so you’ll encounter a fair amount of people coming the opposite way. There are some choke points where you might need to wait for people to pass before you can continue.
The Upper Pool
The Upper Pool was the most crowded area for us, which went against everything I had read online. So, just be prepared that you may have to share this “quiet” area.
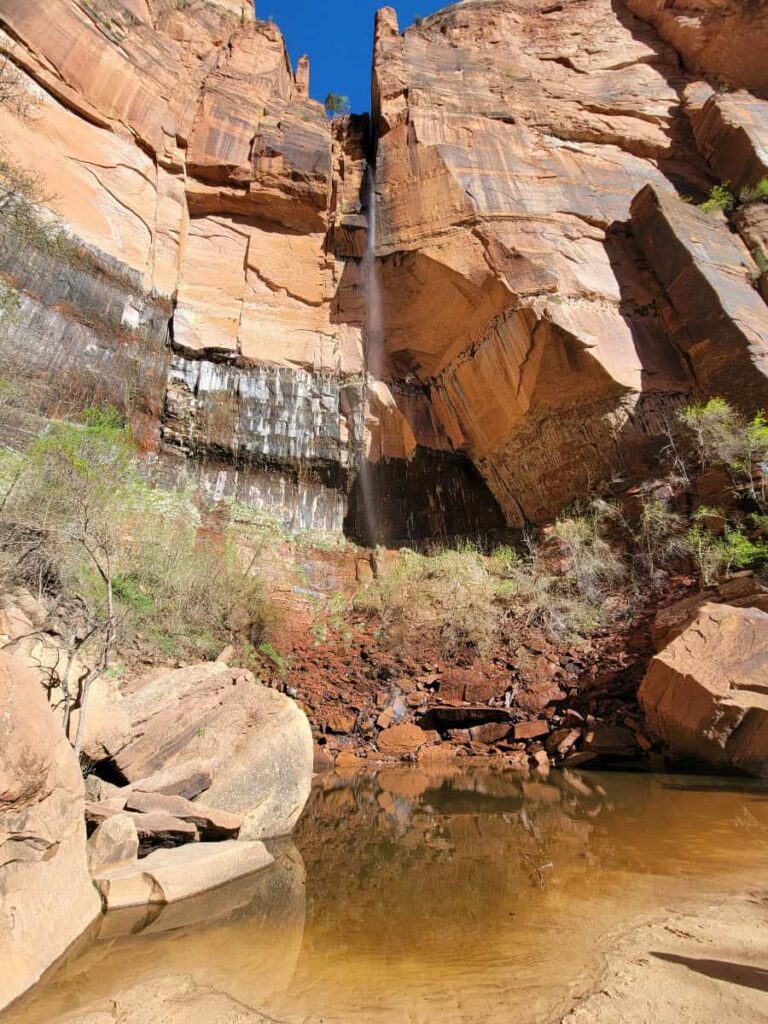
To get to the pool, we had to cross a bit of water, but there were plenty of rocks to step on. There is also a small waterfall and some large boulders that others climbed up on for a snack spot.
After enjoying the pool and a rest, head back down the way you came.
More Middle Pools

After coming back down from the Upper Pool, make a right and continue along the trail not even a tenth-mile to the other set of Middle Pools. These pools are responsible for the waterfalls you walked behind at the Lower Pools.
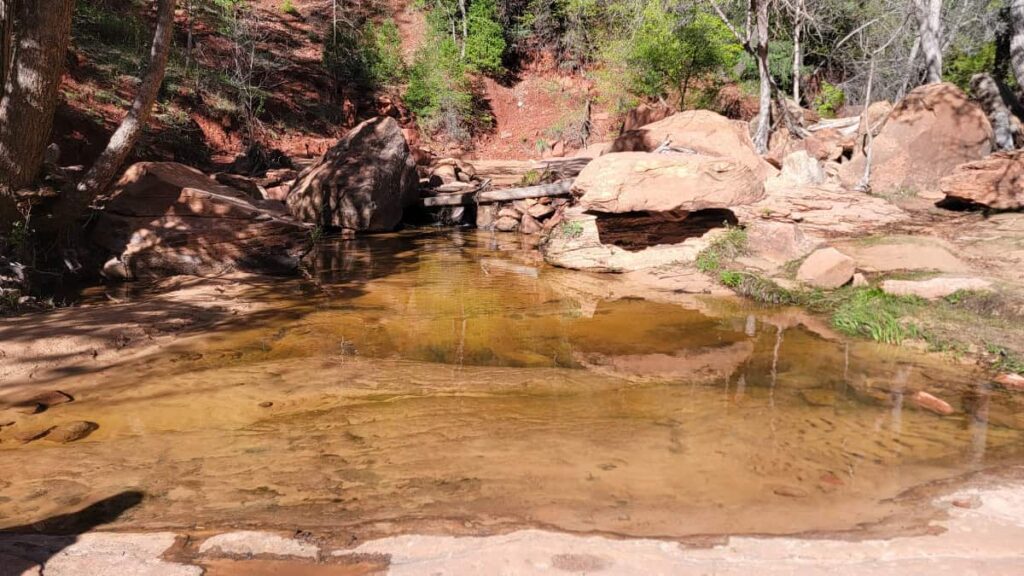
Take a few more pics, as the view is stunning (as it is everywhere in Zion), and then head up the stone steps towards following the sign to the Zion Lodge.
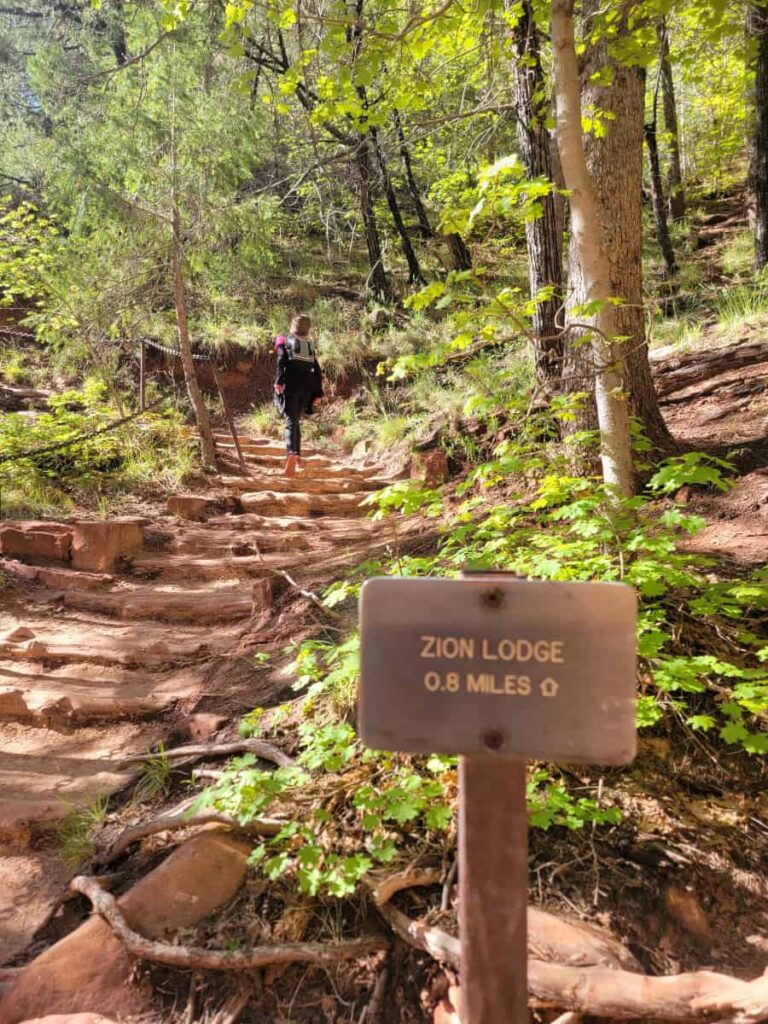
Last Leg
The last part of the trail was a great way to finish. The views along the way are fantastic.
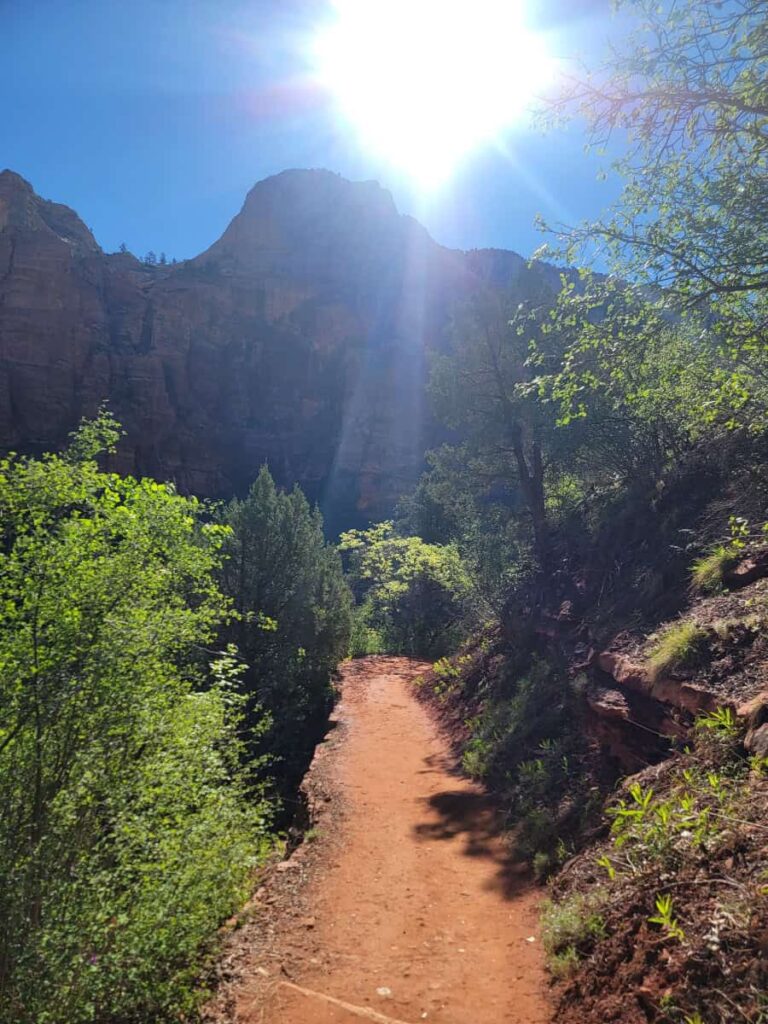
The trail itself is clear of rocks and is mostly dirt, though part of it was paved like the trail to the Lower Pools.
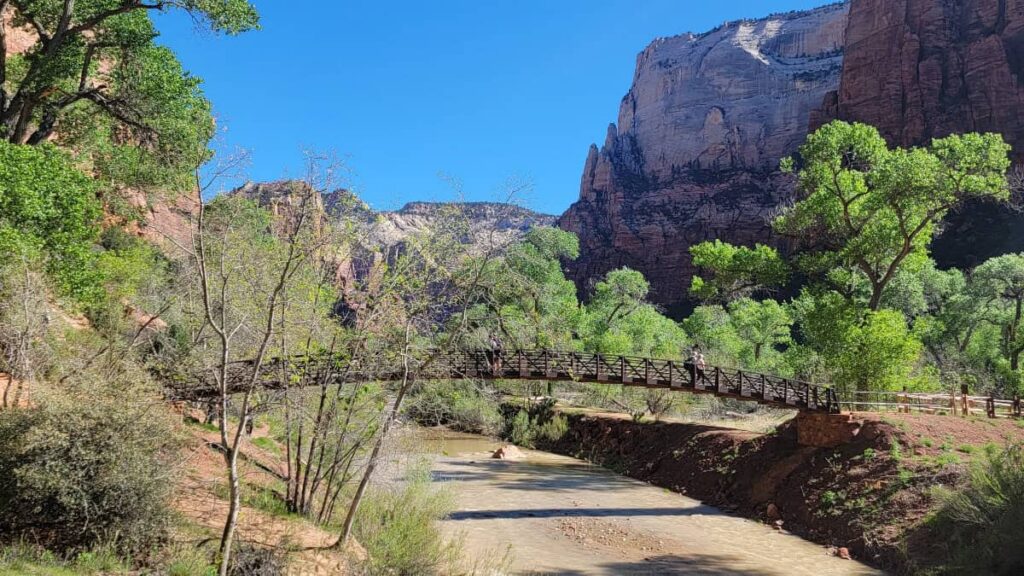
There are some steeper sections, but relatively easy to descend. I was very happy with our choice to do this counterclockwise.
Emerald Pools Trail Wrap-Up
Although the Emerald Pools Trail isn’t the most popular trail in Zion, it still should be on your “must hike” list while visiting the park. Between the views, the waterfalls, and the vibes of the trail, it really is special. My kids said it was their favorite of our whole southwestern Utah trip, which says a lot!
It’s also a family-friendly trail. The toughest part is the section to the Upper Pool, which can be avoided. And really, even hiking to the Lower Pools is pretty awesome, if that’s all your kids have the energy for.
Other Fun Hikes at Zion National Park
If you have the time and energy to do another trail, you’ll want to check out the Watchman Trail, which offers some gorgeous views of lower Zion Canyon and the Canyon Overlook (though parking is limited).
Pin It For Later